
Upland Wood Flooring installs herringbone wood floors in Upland, CA, backed by more than 20 years of wood floor experience, serving surrounding cities including San Antonio Heights, Claremont, Montclair, Rancho Cucamonga and La Verne. We lay herringbone and chevron patterns in solid and engineered wood, from a single entry hall to a full open-plan living area.
Herringbone is less forgiving than a standard plank floor. Every piece is set by hand from a layout line, and the pattern exaggerates any error in layout, subfloor flatness or spacing. A floor that is slightly out of square can look crooked from across the room.
That is why most of the work happens before the first piece goes down. We plan the layout, prepare and test the subfloor or slab, and choose the right product and installation method for the space.
Herringbone and Chevron Patterns
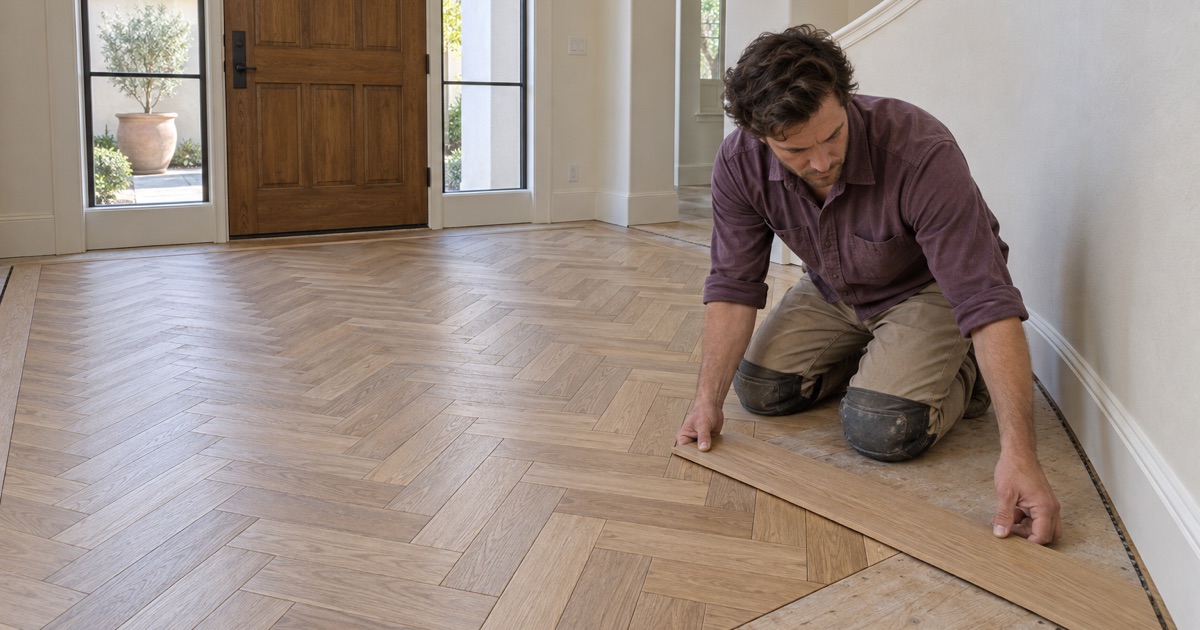
Classic Herringbone
In a herringbone floor, rectangular pieces are laid at an angle so that the end of each piece butts against the side of the next. The result is a broken zigzag that runs along the room. Classic herringbone uses pieces set at 90 degrees to each other, though other angles are possible.
The size of the pieces changes the look. Narrow, short pieces give a fine, traditional pattern suited to smaller rooms, while longer and wider pieces read more modern and suit larger spaces. We help you choose a size that suits the proportions of the room.
Chevron
Chevron looks similar but has a different construction. Each piece is cut at an angle on the ends, so the pieces meet in a clean point rather than overlapping. The result is a continuous V-shaped pattern with a sharper, more directional look.
Chevron pieces are cut for a specific angle, so they come as matched left and right pieces. It generally takes more careful material planning than herringbone, and the layout has to be precise for the points to meet cleanly across the room.
Materials and Finish
Solid Versus Engineered Blocks
Herringbone can be made from solid hardwood or engineered flooring. Solid blocks can be sanded and refinished many times over the life of the floor. Engineered herringbone has a real wood wear layer over a plywood core, which makes it more stable over slabs and in rooms where humidity changes.
The wear layer thickness decides how many times an engineered herringbone floor can be refinished. We explain what each product allows before you order, so you understand the long-term trade-offs between the two.
Species and Color
White oak is the most popular species for herringbone, prized for its grain, its stability and the way it takes both natural and stained finishes. Red oak, hickory and maple are also available. Hickory has high Janka hardness and a strong grain, while maple is smooth and light.
For color, we lay floor stain samples on the actual wood so you can see how it looks in the room’s light. Many owners choose a natural or lightly stained white oak, which lets the pattern speak for itself.
Prefinished or Site-Finished
Prefinished herringbone arrives with a factory finish and is ready to use soon after installation. Site-finished herringbone is sanded flat once it is laid and then stained and coated on site. That gives a smooth surface across every joint and allows a custom color.
Site finishing uses waterborne polyurethane, oil-modified polyurethane or hardwax oil products chosen to meet South Coast AQMD Rule 1113. We leave a written cure schedule so the household knows when each room can be used again.
Preparing the Subfloor or Slab
Flatness Comes First
Herringbone shows every dip and high spot in the surface beneath it, because the short pieces follow the subfloor closely. We check flatness with a long straightedge and correct it before any installation. High spots are sanded or ground down and low spots are filled.
On wood subfloors, loose or damaged plywood and OSB is refastened or replaced. Squeaks and soft spots are fixed now rather than after the pattern is down, since repairing a herringbone floor later is far harder than repairing plank.
Slab Moisture Testing
Herringbone on a slab is usually glued down with urethane flooring adhesive. Before that happens, we test the slab using in-situ relative humidity testing or a calcium chloride test and write the reading down. A slab that reads too wet will break the adhesive bond and lift the pieces.
When a slab reads too high, we use a moisture membrane rated for the reading or allow more drying time. We do not glue a herringbone floor to a slab we have not tested.
Layout and Installation
Setting the Layout Line
A herringbone floor is laid from a center line, usually set along the main sight line of the room, such as the view from the front door or down a hallway. We snap the line and dry-lay sections to check how the pattern meets the walls, doorways and transitions before any adhesive is spread.
Walls are rarely perfectly square, so the layout balances the pattern so any cuts at the edges look even on both sides. In open-plan spaces, we plan the pattern across the whole area so it runs continuously through doorways.
Borders, Transitions and Trim
Many herringbone floors are finished with a border of straight boards along the walls, which frames the pattern and simplifies the edge cuts. Where the floor meets tile, carpet or another wood floor, we fit a reducer or T-molding at the right height.
An expansion gap at the walls lets the floor move with changes in humidity. We cover it with baseboard or quarter round, and we undercut door casings so the pattern runs cleanly beneath them.
Where a herringbone floor meets a staircase, we plan how the pattern ends at the top step. Stair treads, risers and stair nosing are usually straight boards in the same species and finish, and they are priced by the tread and riser rather than folded into the square footage of the pattern.
- 20+ Years in Wood Floors
- Build Year Checked First
- Written Cure Schedules